
Singer 301A Sewing Machine Manual: A Comprehensive Guide
This manual provides detailed instructions for the SINGER 301 sewing machine, covering setup, operation, troubleshooting, and maintenance. It’s a resource for both beginners and experienced sewers!
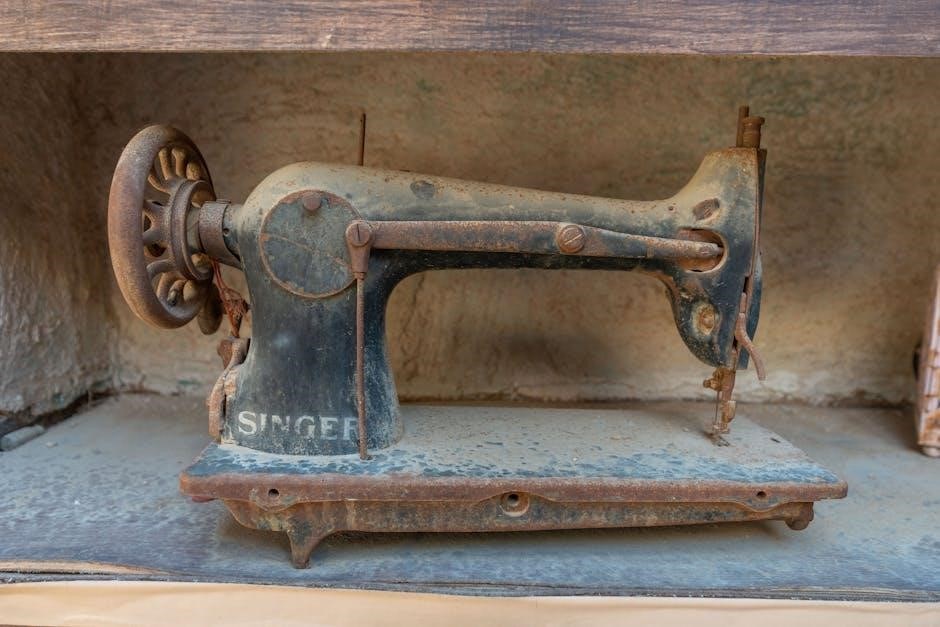
Historical Context of the Singer 301A
The Singer 301A, introduced in 1950, represents a pivotal moment in the evolution of home sewing. Emerging post-World War II, it catered to a growing demand for reliable, domestically-produced sewing machines. SINGER, already a household name since the 1850s, leveraged its established reputation for quality and innovation with this model.
Unlike earlier machines often requiring specialized skills, the 301A was designed for ease of use, empowering a wider range of users to create and repair garments at home. This coincided with a cultural shift towards increased domesticity and DIY projects. The machine’s robust construction and relatively simple mechanics ensured longevity, making it a staple in many households for decades.
The 301A wasn’t merely a functional tool; it symbolized a period of post-war optimism and self-sufficiency. SINGER’s history of “firsts” – like the zig-zag and electronic machines – paved the way for the 301A’s success, solidifying its place as a beloved vintage machine today.
The Singer 301A: An Overview
The Singer 301A is a black, zig-zag sewing machine renowned for its durability and versatility. It’s a fully mechanical machine, meaning it operates without electronic components, contributing to its reliability and ease of repair. This machine is built with a robust aluminum body, ensuring stability during operation and a long service life.
It’s a free-arm machine, allowing for easy sewing of cuffs, sleeves, and other cylindrical items. The 301A handles a variety of fabrics, from lightweight cottons to heavier denim, making it suitable for diverse sewing projects. It features adjustable stitch length and width, offering creative control.
Despite its age, the SINGER 301A remains highly sought after by both vintage sewing enthusiasts and those seeking a dependable, no-frills machine. Its straightforward design and readily available parts contribute to its enduring appeal. It’s a testament to SINGER’s commitment to quality manufacturing.
Key Features and Specifications
The Singer 301A boasts several key features. It’s a zig-zag machine, capable of creating a variety of stitch patterns beyond the standard straight stitch. Stitch width is adjustable up to 5mm, and stitch length from 0 to 4mm, offering versatility for different fabrics and techniques.
Specifications include a maximum sewing speed of 1,800 stitches per minute. It utilizes a standard 15×1 needle system, making needles readily available. The machine operates on standard household electricity. It features a built-in reverse function for secure backstitching.

The 301A’s robust motor provides ample power for handling multiple fabric layers. Its aluminum construction ensures durability and minimizes vibration. The free-arm design facilitates sewing cuffs and sleeves. It’s a reliable machine, celebrated for its simplicity and consistent performance, making it a favorite among sewing enthusiasts.
Machine Components – Identification
Let’s identify the key components of your Singer 301A. The faceplate covers the internal mechanisms, while the handwheel controls stitch formation. The bobbin winder is located at the top, used for filling bobbins. The stitch length dial adjusts the length of each stitch.
The stitch width dial controls the zig-zag width. The presser foot secures fabric during sewing, and the presser foot shank holds it in place. The feed dogs move fabric under the needle. The bobbin case houses the bobbin, and the shuttle hook interlocks with the needle thread.
The tension discs regulate thread tension. The spool pin holds the thread spool. The motor powers the machine, and the belt connects the motor to the handwheel. Familiarizing yourself with these parts is crucial for operation and maintenance.
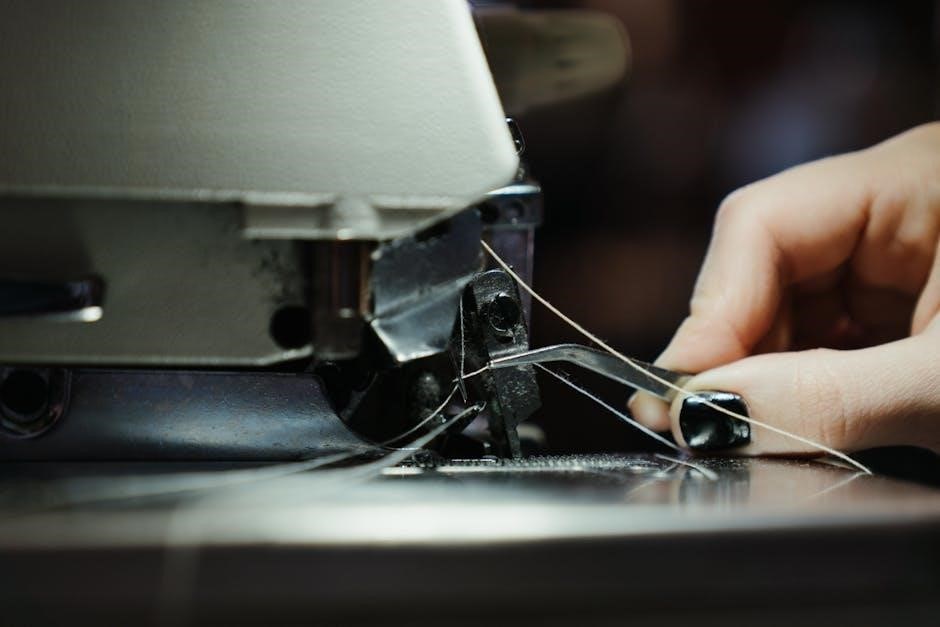
Understanding the Stitch Formation
The Singer 301A creates stitches through a fascinating interplay of components. The needle, driven by the machine, carries the top thread through the fabric. Simultaneously, the rotating shuttle hook catches this thread, interlocking it with the thread from the bobbin located in the bobbin case.
This interlocking action forms a loop beneath the fabric. The feed dogs then advance the fabric, pulling it away from the needle, and the process repeats, creating a continuous row of stitches. Proper tension between the top and bobbin threads is vital for a balanced stitch.
Adjusting the stitch length dial alters the distance between each stitch, while the stitch width dial controls the side-to-side movement for zig-zag stitches. Understanding this mechanism allows for effective troubleshooting and achieving desired stitch quality.
Setting Up Your Singer 301A
Before beginning, ensure your Singer 301A is placed on a stable, level surface with adequate lighting. Begin by connecting the power cord and verifying the power switch is in the ‘off’ position. Next, install a suitable needle for your fabric type – a universal needle is a good starting point.
Carefully insert the needle into the needle clamp, ensuring it’s securely fastened. Attach the presser foot appropriate for your sewing task. The SINGER offers various presser feet for specialized applications. Ensure the bobbin is correctly wound and inserted into the bobbin case, with the thread flowing correctly.
Finally, connect the machine to the power source and test the operation by slowly pressing the foot pedal. Familiarize yourself with the location of all controls before starting your project.
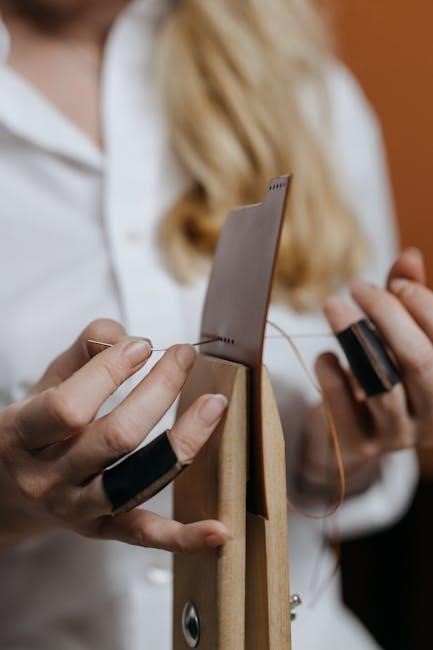
Threading the Machine – Step-by-Step
Begin by raising the presser foot and ensuring the needle is in its highest position. Place the spool of thread on the spool pin. Guide the thread through the first thread guide, then down and around the tension discs – crucial for proper stitch formation. Next, lead the thread up and through the take-up lever, ensuring it’s securely seated.
Continue threading through the second thread guide and then down through the needle clamp. Finally, thread the needle from front to back. Gently pull the thread a few inches to confirm it’s correctly seated throughout the threading path.
Proper threading is vital for consistent stitch quality. Refer to the diagrams in your SINGER manual for visual guidance. Always use quality thread compatible with your fabric.
Winding the Bobbin
Begin by placing the spool of thread on the spool pin. Then, draw the thread through the thread guide leading to the bobbin winder. Secure the thread end through the small hole in the bobbin. Place the bobbin onto the bobbin winder spindle, ensuring it clicks into place.
Push the bobbin winder lever to the right to engage the winding mechanism. Gently depress the foot pedal to start winding. The machine will automatically stop when the bobbin is full.
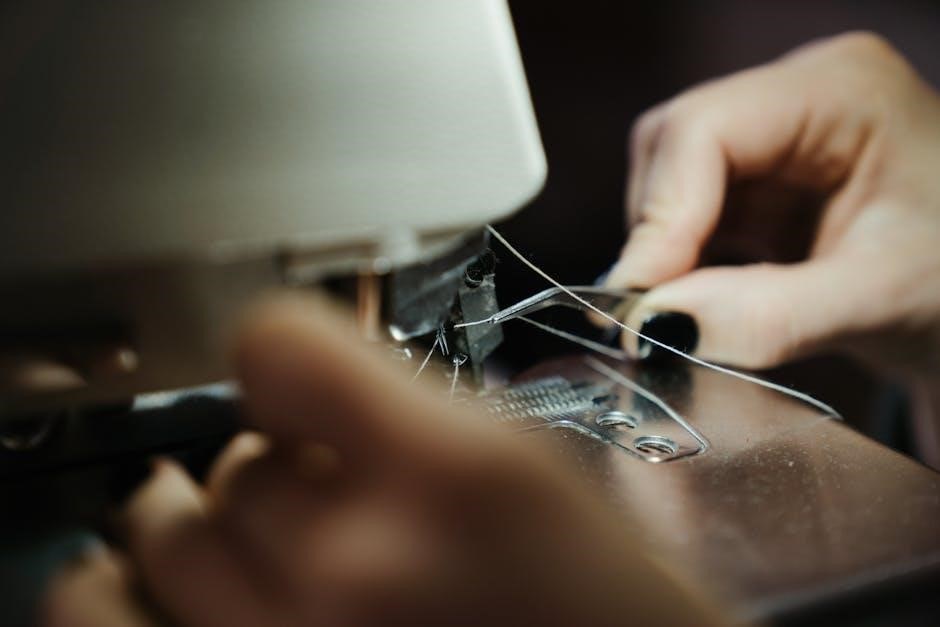
Cut the thread and remove the bobbin. Consistent, even winding is essential for smooth sewing. Refer to your SINGER manual’s diagrams for precise guidance. Using the correct thread weight is also important for optimal results.
Bobbin Insertion and Tension Adjustment
To insert the bobbin, open the bobbin case cover located beneath the needle plate. Gently place the wound bobbin into the bobbin case, ensuring the thread unwinds in the correct direction – typically clockwise. Guide the thread through the tension spring and then through the slot in the bobbin case.

Close the bobbin case cover. Next, carefully thread the machine following the threading diagram. Proper tension is crucial for balanced stitches. If the upper thread is looping on the underside of the fabric, loosen the upper tension.
Conversely, if the bobbin thread is visible on the top, tighten the upper tension. SINGER machines often require minor adjustments. Consult your manual for specific tension settings based on fabric type and thread weight.
Selecting Stitch Length and Width
The SINGER 301A offers adjustable stitch length and width, controlled by dials on the machine. Stitch length determines the distance between each stitch, influencing the fabric’s durability and appearance. Shorter stitches are ideal for delicate fabrics and curves, while longer stitches suit heavier materials and basting.
To adjust stitch length, rotate the corresponding dial. Experiment with different settings on scrap fabric to achieve the desired result. Similarly, the stitch width dial controls the zigzag stitch’s breadth. A narrower width creates a straight stitch, while increasing the width produces a wider zigzag.
Understanding these controls allows for versatile sewing. Remember to test your settings before starting your project. Instructions for specific stitch combinations can be found within the manual, ensuring optimal performance and professional-looking seams.
Basic Sewing Techniques
Mastering basic sewing techniques with your SINGER 301A unlocks a world of creative possibilities. Start with straight stitching, guiding the fabric smoothly under the presser foot while maintaining a consistent speed. Practice pivoting at corners by dropping the feed dogs and gently rotating the fabric.
Backstitching at the beginning and end of seams secures the stitches, preventing unraveling. Utilize the reverse lever for this purpose. For curved seams, reduce stitch length for smoother results. Explore zigzag stitching for finishing raw edges, preventing fraying, and creating decorative effects.
Proper fabric handling is crucial. Avoid pulling or pushing the fabric; let the machine feed it evenly. Instructions emphasize consistent pressure and a relaxed grip. These foundational skills, combined with the 301A’s capabilities, will empower you to tackle diverse sewing projects with confidence.

Troubleshooting Common Issues
Even with a well-maintained SINGER 301A, occasional issues can arise. Thread bunching often indicates incorrect threading or improper tension. Re-thread the machine carefully, following the manual’s instructions, and adjust the tension dial. Skipped stitches can stem from a dull or incorrectly inserted needle; replace it with the correct type and size.
If the machine jams, stop immediately and gently remove the fabric and bobbin. Avoid forcing anything. A noisy operation might signal a need for oiling – refer to the maintenance section. Fabric puckering suggests tension is too tight; loosen the tension dial incrementally.
Consistent problems warrant a closer inspection of the timing belt. Remember to consult the manual or seek expert assistance if you’re unsure about any repair. Addressing these common issues promptly ensures continued smooth operation.
Needle Problems and Solutions
Needle issues are frequent with the SINGER 301A, but often easily resolved. A bent or damaged needle must be replaced immediately to prevent further machine damage and fabric snagging. Always use the correct needle size and type for your fabric – finer fabrics require finer needles. Ensure the needle is inserted correctly, with the flat side facing the back.
Skipped stitches are a common sign of a dull or incorrect needle. Thread breakage can also indicate a needle problem, or incorrect threading. If the needle keeps breaking, check for obstructions in the needle plate area. Regularly inspect the needle for burrs or damage.
When changing the needle, always power off the machine. Refer to your manual for specific needle recommendations based on fabric type. Proper needle maintenance is crucial for optimal sewing performance.
Tension Issues – Diagnosis and Fixes
Tension problems on the SINGER 301A often manifest as looping stitches, puckering, or thread breakage. Incorrect upper or lower tension settings are the primary culprits. Begin by re-threading both the upper thread and the bobbin, ensuring proper seating in the tension discs.
If loops form on the underside of the fabric, the upper tension is likely too loose; increase the upper tension setting incrementally. Conversely, if loops form on the top, tighten the lower bobbin tension slightly. Always test adjustments on a scrap fabric piece.
Ensure the bobbin is wound evenly and not too tightly. A dirty or lint-filled tension assembly can also cause issues; clean it thoroughly. Refer to the manual for specific tension adjustment guidelines. Consistent tension is key to achieving professional-looking stitches.
Maintaining Your Singer 301A
Maintaining your SINGER 301A is crucial for its longevity and optimal performance. Regular cleaning prevents lint and dust buildup, which can cause jams and affect stitch quality. Always unplug the machine before cleaning!
Use a soft brush to remove lint from the bobbin area, feed dogs, and around the needle plate. Apply a few drops of sewing machine oil to key moving parts – as detailed in the manual – including the motor, gears, and linkages. Avoid over-oiling, as excess oil attracts dust.
Periodically check the belt for wear and tear; a worn belt will slip, impacting stitch consistency. Inspect the handwheel and ensure it turns smoothly. Proper maintenance ensures your SINGER 301A remains a reliable sewing companion for years to come.
Regular Cleaning and Oiling
Regular cleaning is paramount for a smoothly functioning SINGER 301A. Lint and dust accumulate quickly, hindering performance and causing potential mechanical issues. Always disconnect the power before commencing any cleaning procedures.
Utilize a soft brush to meticulously remove lint from the bobbin case, feed dogs, and the needle plate area. A small vacuum cleaner attachment can also be helpful. For oiling, apply sewing machine oil sparingly to the motor, gears, and all moving parts as indicated in the machine’s diagrams.
Avoid over-lubrication, as excess oil attracts dust and debris. Wipe away any excess oil with a clean cloth. Consistent cleaning and oiling will preserve the SINGER 301A’s precision and extend its operational life, ensuring years of reliable service.
Belt Replacement Guide
Replacing the belt on your SINGER 301A is a manageable task that restores power transmission when the original belt becomes worn or broken. Begin by disconnecting the machine from the power source for safety. Access the belt by removing the motor cover, typically secured with screws.
Carefully note the belt’s routing around the motor pulley and the handwheel before removal – a photograph can be invaluable. Gently remove the old belt. Install the new belt, ensuring it’s seated correctly in the grooves of both pulleys.
Verify the belt has proper tension; it shouldn’t be too loose or too tight. Reattach the motor cover and reconnect the power. Test the machine to confirm smooth operation. A correctly installed belt ensures efficient power transfer and quiet sewing.
Singer 301A Parts Diagram
A detailed Singer 301A parts diagram is essential for identifying components during repair or maintenance. This visual guide illustrates the location and names of each part, from the handwheel and presser foot to internal mechanisms like the bobbin case and shuttle hook.
The diagram typically showcases an exploded view, separating parts for clarity. Key areas highlighted include the motor assembly, the needle clamp and bar, the feed dog system, and the tension discs. Understanding the diagram aids in accurate parts ordering and proper reassembly.
Referencing the diagram alongside a parts list ensures you select the correct replacement components. Online resources and service manuals often provide downloadable diagrams. Familiarizing yourself with this diagram streamlines repairs and extends the life of your Singer 301A.
Finding Replacement Parts
Locating replacement parts for your Singer 301A is crucial for maintaining its functionality. Several avenues exist for sourcing these components. Online marketplaces, such as eBay and specialized sewing machine parts retailers, offer a wide selection of original and reproduction parts.
Dedicated Singer parts websites often stock specific 301A components, including needles, bobbins, belts, and even more complex mechanisms. Local sewing machine repair shops can also source parts or offer repair services. When ordering, having the part number from the parts diagram is incredibly helpful.
Ensure compatibility before purchasing, as variations exist. Consider the condition of the part – new old stock (NOS) parts are often preferred for authenticity. Careful research and comparison shopping will help you find quality replacements at reasonable prices, keeping your Singer 301A sewing for years to come;
Resources for Further Assistance

Beyond this manual, numerous resources are available to support your Singer 301A journey. The official Singer website provides access to downloadable manuals, stitch guides, and machine updates for various models, including potentially helpful information applicable to the 301A.
Online sewing communities and forums dedicated to vintage sewing machines are invaluable. These platforms allow you to connect with experienced users, ask questions, and share knowledge. YouTube channels offer a wealth of video tutorials demonstrating repairs, maintenance, and advanced techniques.
Professional sewing machine repair technicians can provide expert assistance for complex issues. Warranty information and terms & conditions are available on the Singer website. Remember to utilize these resources to maximize your enjoyment and proficiency with your classic Singer 301A.
Advanced Techniques with the 301A
The Singer 301A, despite its age, is capable of surprisingly advanced techniques. Mastering different presser feet unlocks a wider range of projects; consider a rolled hem foot for delicate fabrics or a zipper foot for precise installations.
Darning, a traditional method of repairing holes in fabric, is easily achievable with the 301A’s robust mechanics. Free-motion sewing, dropping the feed dogs and controlling the fabric’s movement, allows for creative embellishments and quilting.
Experiment with decorative stitches, utilizing different thread weights and colors. The 301A’s consistent stitch quality makes it ideal for intricate designs. Remember to practice and consult online resources for guidance on these techniques, expanding your sewing skillset with this versatile machine.
Using Different Presser Feet
Expanding the Singer 301A’s capabilities requires understanding its presser feet. The standard foot handles most everyday sewing, but specialized feet unlock new possibilities. A zipper foot allows close stitching along zipper teeth, ensuring professional results.
A buttonhole foot simplifies creating consistent buttonholes, a traditionally challenging task. A rolled hem foot creates delicate, narrow hems perfect for lightweight fabrics like chiffon. For appliqué, an open-toe foot provides visibility, while a blind hem foot creates nearly invisible hems.
Experimenting with these feet broadens your project range. Ensure the correct foot is securely attached before sewing. Online resources and vintage SINGER manuals detail each foot’s specific use, maximizing the 301A’s potential.
Darning and Free-Motion Sewing
The Singer 301A excels at darning, a skill for repairing worn fabrics. Disengage the feed dogs – a crucial step – and use a darning foot. Gently move the fabric under the needle, creating a new weave to mend holes or reinforce weak areas. Practice on scrap fabric first to master the technique.
Free-motion sewing, also requiring dropped feed dogs, allows artistic stitch control. Attach a darning foot or free-motion quilting foot. Lower the presser foot slightly and guide the fabric freely, creating designs or quilting patterns.
Consistent speed and gentle movement are key to success. This technique opens doors to creative embellishments and personalized textile art. Explore online tutorials for inspiration and guidance on mastering these versatile skills with your 301A.
Singer 301A vs. Other Vintage Models
Compared to other vintage Singer machines, like the 15 or 201, the 301A boasts a more streamlined design and lighter weight. While the 15 is renowned for its robust power, the 301A offers a smoother, quieter operation, making it ideal for delicate fabrics. The 201, a similar model, shares many features but lacks the 301A’s refined mechanics.
The 301A’s slant-shank design allows for easier presser foot changes compared to the long-shank systems of earlier models. It also features improved stitch quality and a wider range of stitch options. However, some argue the older machines are built “tougher.”
Ultimately, the 301A strikes a balance between power, precision, and user-friendliness, making it a favorite among vintage Singer enthusiasts. Its relative simplicity also contributes to easier maintenance and repair.
The Legacy of the Singer 301A
The Singer 301A, produced from 1950 to 1957, quickly gained a reputation for reliability and quality, cementing its place as a beloved machine among sewing enthusiasts. Its innovative features, like the slant-shank presser foot system, represented a significant advancement in home sewing technology.
Decades later, the 301A remains highly sought after for its ability to handle a wide variety of fabrics and sewing tasks. Its durability ensures many machines are still in operation today, a testament to Singer’s engineering. The machine’s simplicity also makes it an excellent choice for learning sewing fundamentals.

The 301A’s enduring popularity has fostered a strong online community dedicated to its restoration, repair, and appreciation. It represents a golden age of sewing machine manufacturing, embodying both functionality and timeless design.
Where to Find a Singer 301A Today
Finding a Singer 301A requires patience and diligent searching, as it’s no longer in production. Online auction sites like eBay are a primary source, offering a constantly changing selection of machines in varying conditions. Expect to pay a premium for models in excellent working order.
Estate sales and antique shops can also yield results, though these require more frequent visits and a bit of luck. Local sewing machine repair shops sometimes have refurbished 301As available for sale, offering the benefit of professional servicing.
Online forums and social media groups dedicated to vintage sewing machines are excellent resources for connecting with sellers and learning about potential leads. Be prepared to inspect the machine thoroughly before purchasing, checking for wear and tear and ensuring all parts are functional.